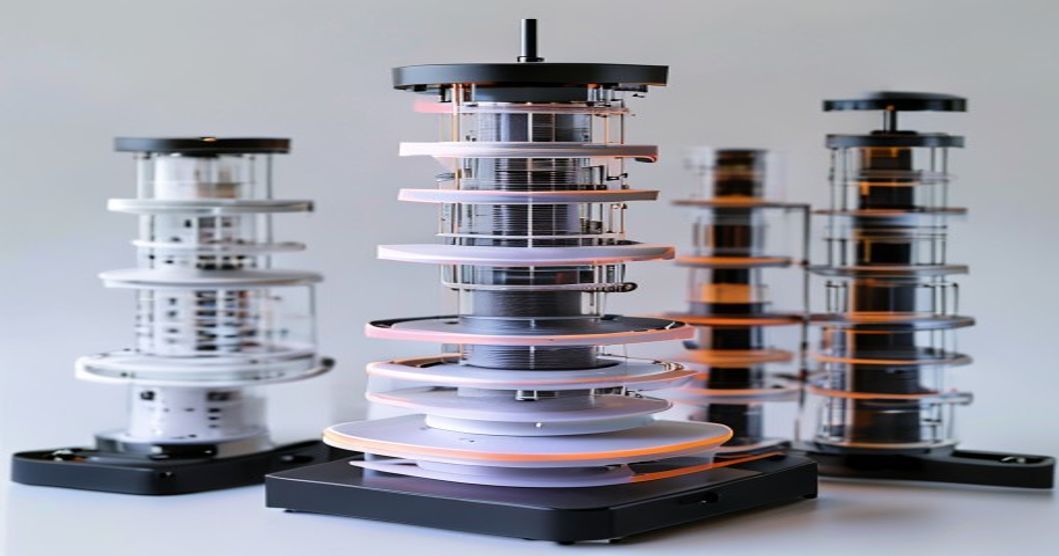
If the calibration cube tells you that your printer is dimensionally accurate, it tells you nothing about whether your prints will stick, flow smoothly, or bond between layers. Dimensional accuracy is just one piece of the calibration puzzle. The other critical parameters — temperature, retraction, flow rate, and accel/jerk — require different test prints and tuning procedures. This guide moves beyond the basic cube to comprehensive printer calibration.
Limitations of the Basic Calibration Cube
The calibration cube only verifies axis scaling. It reveals nothing about:
- First-layer adhesion strength
- Interlayer bonding quality
- Optimal extrusion temperature
- Retraction settings
- Acceleration and jerk limits
- Flow rate accuracy
- Cooling requirements
You can have a perfectly dimensioned cube from a printer producing weak, porous, stringy prints. Comprehensive calibration requires running additional test prints to optimize each parameter.
Калибровка температурной башни
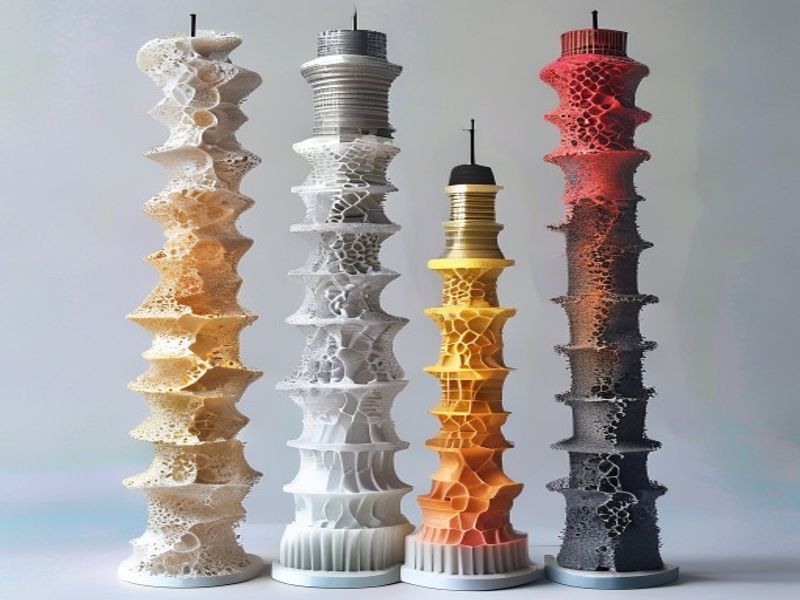
Finding the optimal nozzle temperature is the most impactful calibration step. A temperature tower tests multiple temperatures in a single print:
- Use a temperature tower model (or design your own with 10°C steps from 190-240°C)
- Print with the same settings throughout (0.2mm layer, 15mm/s base speed)
- Inspect each tier for bridging quality, stringing, and surface finish
- The tier with the best bridging, minimal stringing, and smoothest surface indicates the optimal temperature
For PLA+, run the tower from 200-235°C. For PLA, run from 190-225°C. Mark the temperatures on the tower before printing so you can identify each tier’s conditions afterward.
Retraction Test Calibration
Retraction controls how much filament is pulled back when the nozzle moves between printed areas. Incorrect retraction causes stringing (too little retraction or distance) or mid-print jams (too much retraction or speed). The standard test:
- Print a retraction test model featuring multiple travel moves
- Use your slicer’s retraction test pattern (or print a classic tower with travel moves at different retraction distances)
- Start with retraction distance of 4-6mm and retraction speed of 20-45mm/s
- Visually inspect for stringing between pillars — minimal stringing with no jams indicates good settings
PLA and PLA+ typically require 4-8mm retraction at 25-45mm/s. Adjust in 1mm and 5mm increments respectively. Note that PLA+ usually needs slightly more retraction than standard PLA due to its modified flow characteristics.
Flow Rate and Extrusion Multiplier Calibration
The extrusion multiplier (or flow rate) in your slicer determines how much filament is pushed through the nozzle. Even with perfect steps-per-mm, you may be under-extruding or over-extruding if this value is incorrect.
Calibration method:
- Set extrusion multiplier to 100%
- Print a solid 50mm cube (or use a dedicated flow test)
- Measure the actual wall thickness with calipers
- Calculate corrected multiplier: (measured_wall_thickness ÷ nominal_wall_thickness) = new_multiplier
- Update in slicer and re-test
For 0.4mm nozzles with standard PLA, expect 93-98% extrusion multiplier. For 0.4mm nozzles with PLA+, expect 95-100%. Wider nozzles can require higher multipliers to compensate for the increased filament required.
Linear Advance and Pressure Advance
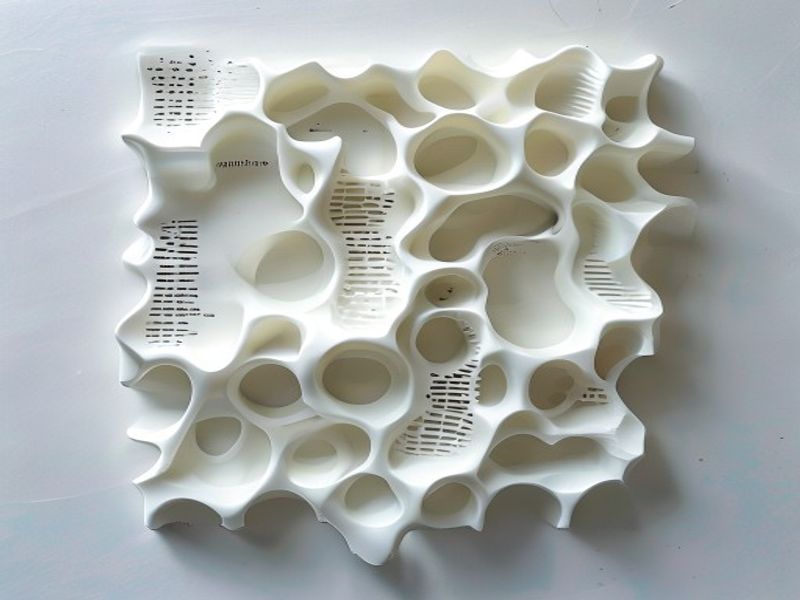
Linear Advance (Marlin) and Pressure Advance (Klipper) compensate for the pressure buildup in the hot end during acceleration and deceleration. Without it, you see blobs at the start of moves and underextrusion at the end of moves.
Calibration involves printing a test pattern with known acceleration changes and adjusting the advance coefficient until the extrusion is uniform across all speeds. This is critical for users printing above 80mm/s. For PLA and PLA+ at typical speeds (40-100mm/s), values of 0.020-0.050 are common starting points. Tune by printing acceleration test towers and looking for consistent extrusion width across speeds.
Building a Complete Calibration Workflow
A comprehensive calibration workflow, from first setup to ongoing tuning, includes these steps in order:
- Initial setup: Belts at proper tension, bed leveled, steps-per-mm calibrated
- First cube: Dimensional accuracy verification (20mm cube within 0.05mm)
- Temperature tuning: Temperature tower for optimal extrusion temperature
- Retraction tuning: Minimize stringing without mid-print jams
- Flow rate: Wall thickness calibration to set extrusion multiplier
- Acceleration: Tune Linear/Pressure Advance for fast printing
- Ongoing: Weekly cube check + per-spool temperature verification
Once fully calibrated, maintain the calibration by printing a quick dimensional check weekly or after any mechanical disturbance. Re-optimize temperature when changing filament brands.
Почему стоит выбрать нейлоновый пластик для 3D-печати и инженерных целей
Обладая более чем 10-летним опытом работы в сфере инженерных пластиков, компания Nylon Plastic поставляет высококачественные материалы клиентам B2B по всему миру. Наш ассортимент включает нейлон (PA6, PA66, PA12), POM, PEEK, а также нити для 3D-печати, в том числе PLA, PLA+ и PETG. Перед отправкой каждая партия проходит проверку на допуск по диаметру (±0,03 мм), содержание влаги и механические свойства.
- Производственные мощности, сертифицированные по стандарту ISO 9001
- Оптовые поставки по выгодным ценам для бизнеса (B2B)
- Техническая поддержка по выбору материалов и параметрам печати
- Быстрая доставка по всему миру с нескольких складов
- Возможна разработка индивидуальных рецептур материалов для проектов OEM
ЧАСТО ЗАДАВАЕМЫЕ ВОПРОСЫ
What is the practical value of Beyond the Calibration Cube: Advanced 3D Printer Calibration Methods?
Beyond the Calibration Cube: Advanced 3D Printer Calibration Methods helps connect material choice, process limits, cost, and application risk before committing to production.
What should be checked first for Beyond the Calibration Cube: Advanced 3D Printer Calibration Methods?
Начните с реальных требований к применению, предполагаемых условий эксплуатации, объема производства, требований к допускам и ожиданий в отношении контроля качества.
What usually causes problems in Beyond the Calibration Cube: Advanced 3D Printer Calibration Methods?
Проблемы, как правило, возникают из-за неясных требований, неподходящих материалов, нереалистичных допусков, отсутствия критериев контроля или поздних изменений в проекте.
How can buyers reduce risk with Beyond the Calibration Cube: Advanced 3D Printer Calibration Methods?
Покупатели могут снизить риски, предоставив перед составлением коммерческого предложения чертежи, условия эксплуатации, критические размеры, планируемые объемы закупок и требования к качеству.

